

Looking to learn more advanced stained glass skills or one on one private help? Join my Patreon - I dive into more advanced techniques there and you support me in the process of teaching you! (Patreon Link) .
Welcome back to my lovely little stained glass blog! This week’s topic may be a bit shorter than my usual blog post because today I am covering the subject of transferring your pattern to the glass plan on using for your project! A simple step in the whole stained glass process, but I wanted to discuss some intricacies and options. Again I never claim to be an expert just a stained glass loving gal that has been playing around with this art medium for a little bit!
*Disclaimer: As an Amazon Associate, I earn from qualifying purchases. Thanks for your support :)
YOU HAVE THE PATTERN YOU WANT TO MAKE, NOW WHAT?
Remember my last blog post where I spoke about needing two copies of your pattern? Well this is where that requirement becomes important (If you didn’t read my blog post on pattern designing click here to get up to speed). To get started you will need two copies of the stained glass pattern you’ve chosen to create. You will be keeping one copy as your “pattern guide” and the other as your “ pieces”. Eventually when you begin cutting glass, you will need to correctly fit every cut out piece to the pattern guide.
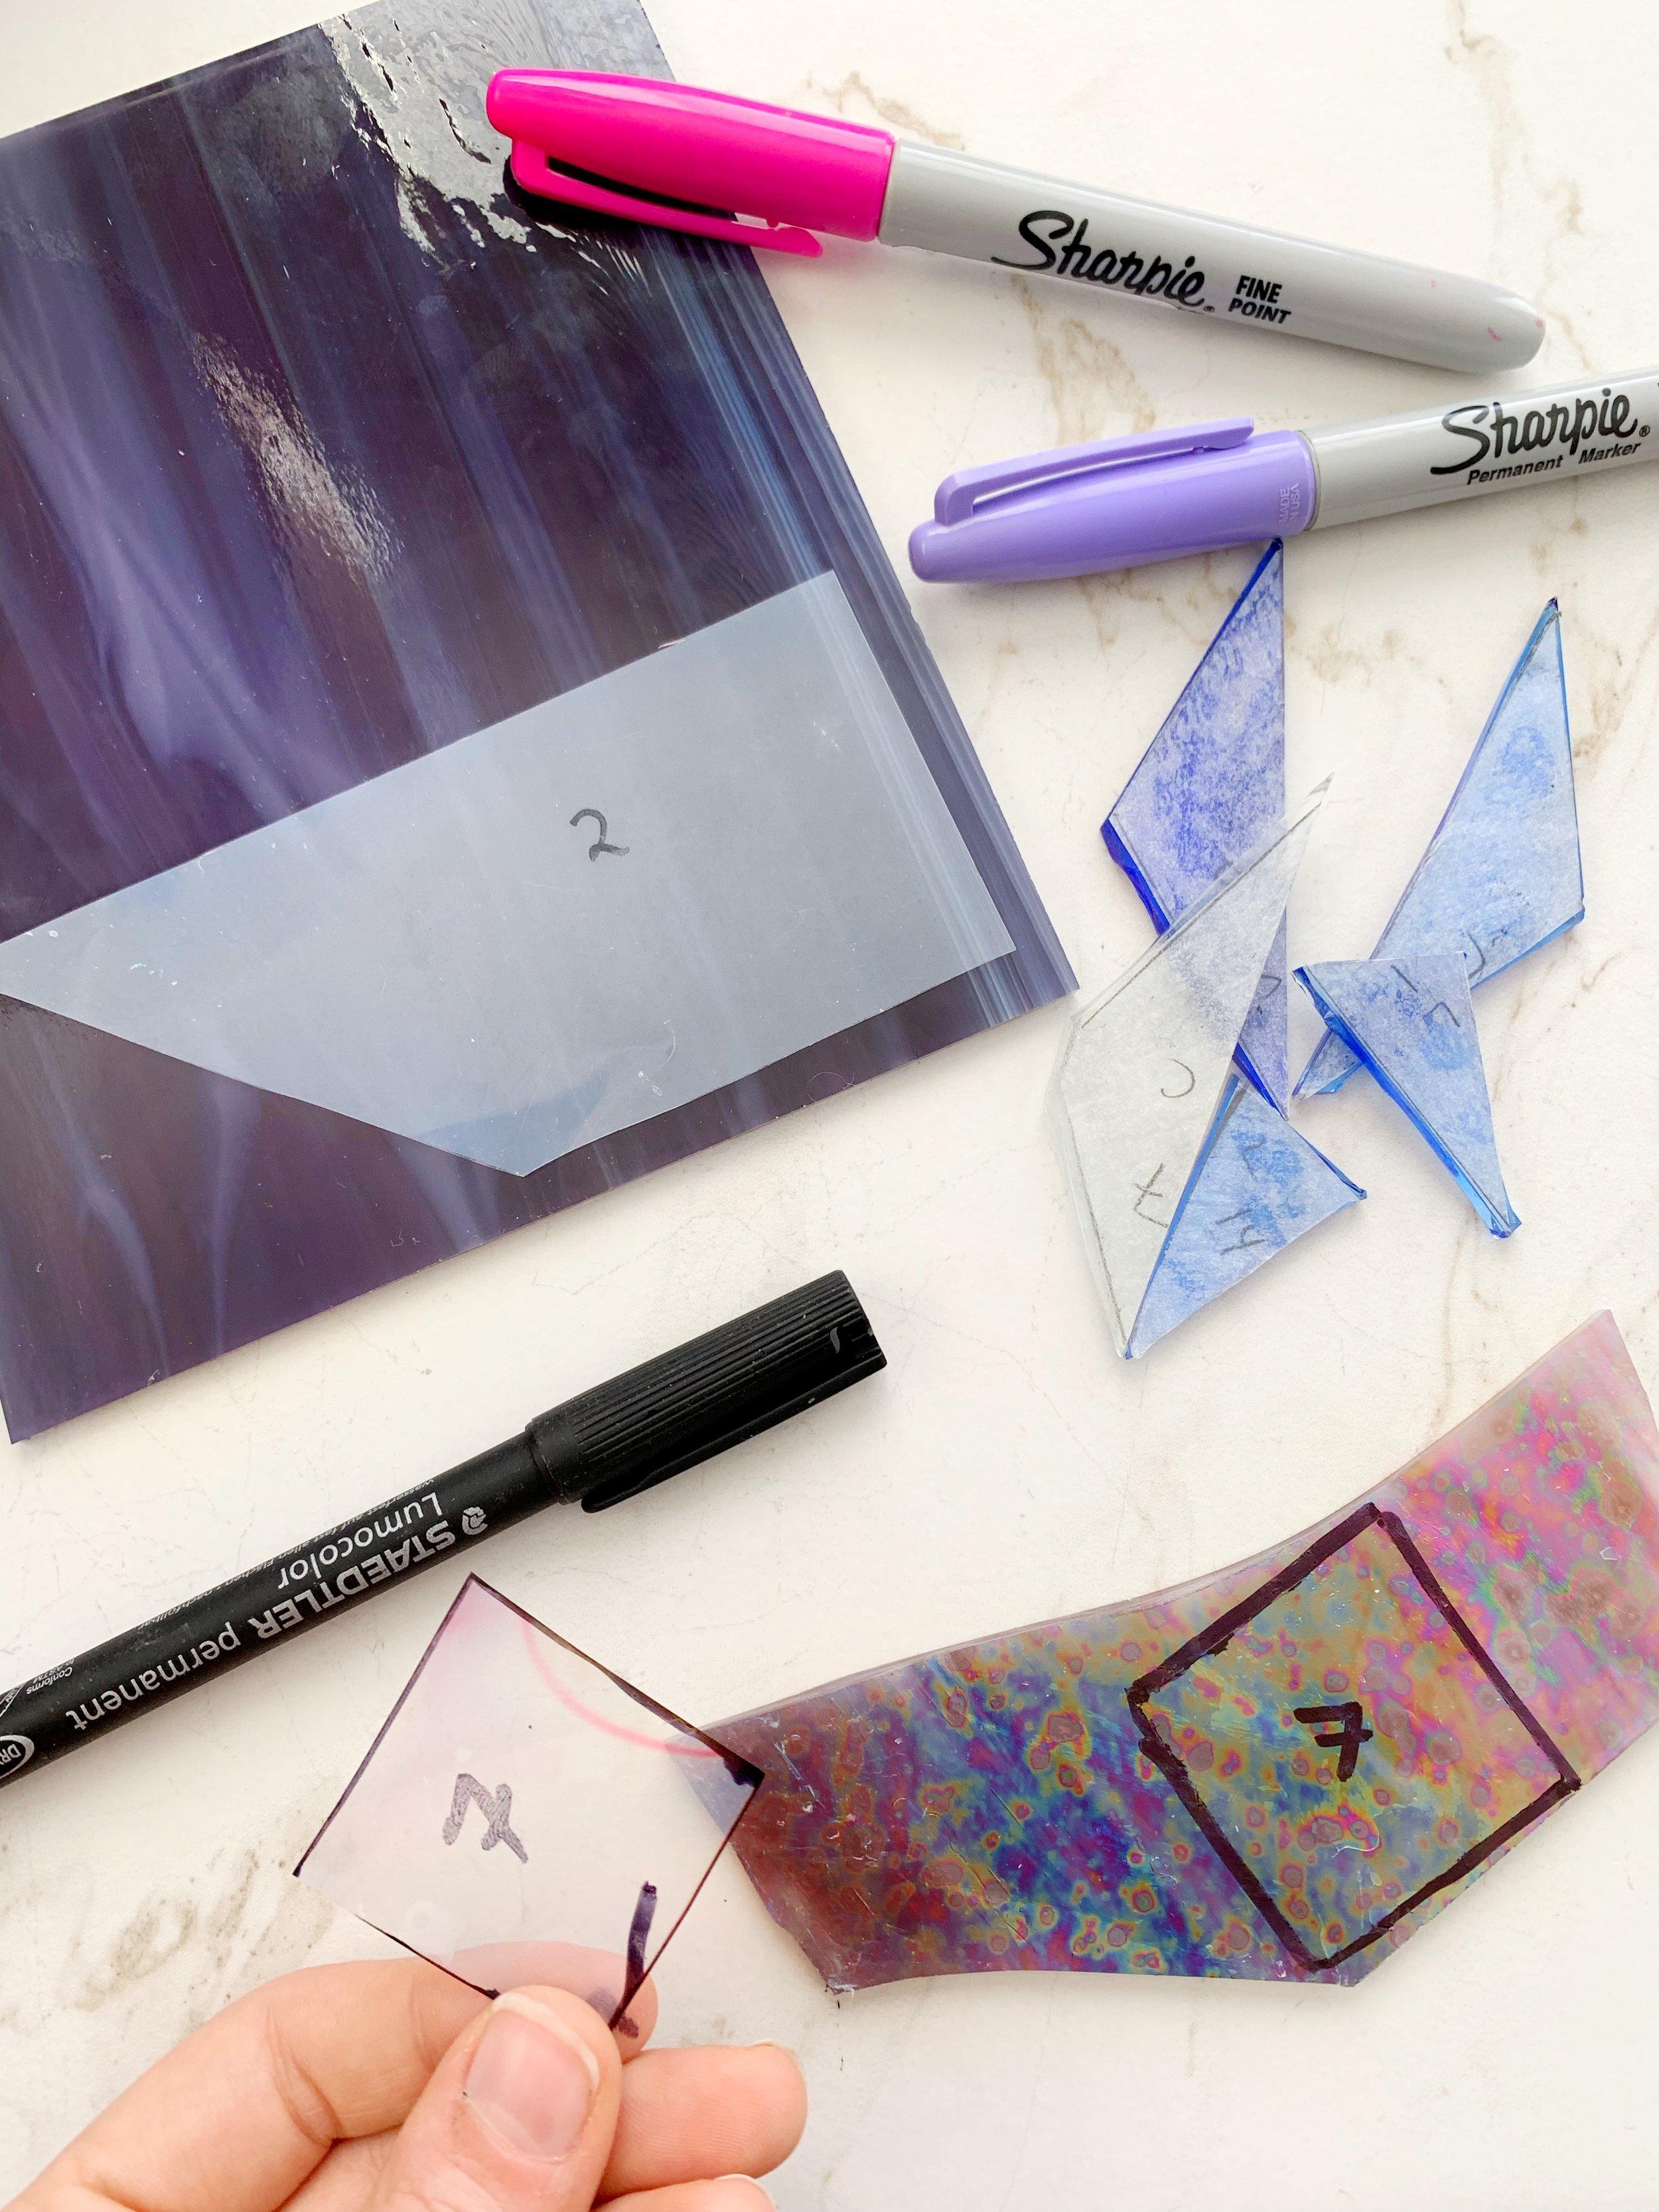
There are three methods that I have found useful for transferring patterns onto glass. The first option is having a laminate copy of your pattern made, cutting it out, and taking a Sharpie/glass marker (find on Amazon) and tracing the outline of each piece directly on the glass. The second option is using carbon paper to trace over your pattern thus creating an additional pattern to then cut out and follow the same steps as the laminate version. The third option is gluing the cut out pattern pieces directly on the glass. The paper glued to the glass will serve as a cutout guide. I believe that most glassmakers out there generally favor the first two options. If you watch my social media stories you'll see I prefer to use the third method of pattern gluing. They all have their pros and cons that I will further explain below.
LAMINATE COPY, CARBON PAPER, OR TRACING PAPER?
Each method works well for pattern transfer and at the end of the day it will come down to the supplies you have access to and your personal preference. I recommend you give all three methods a try if possible before deciding which will be your go to every time you create.
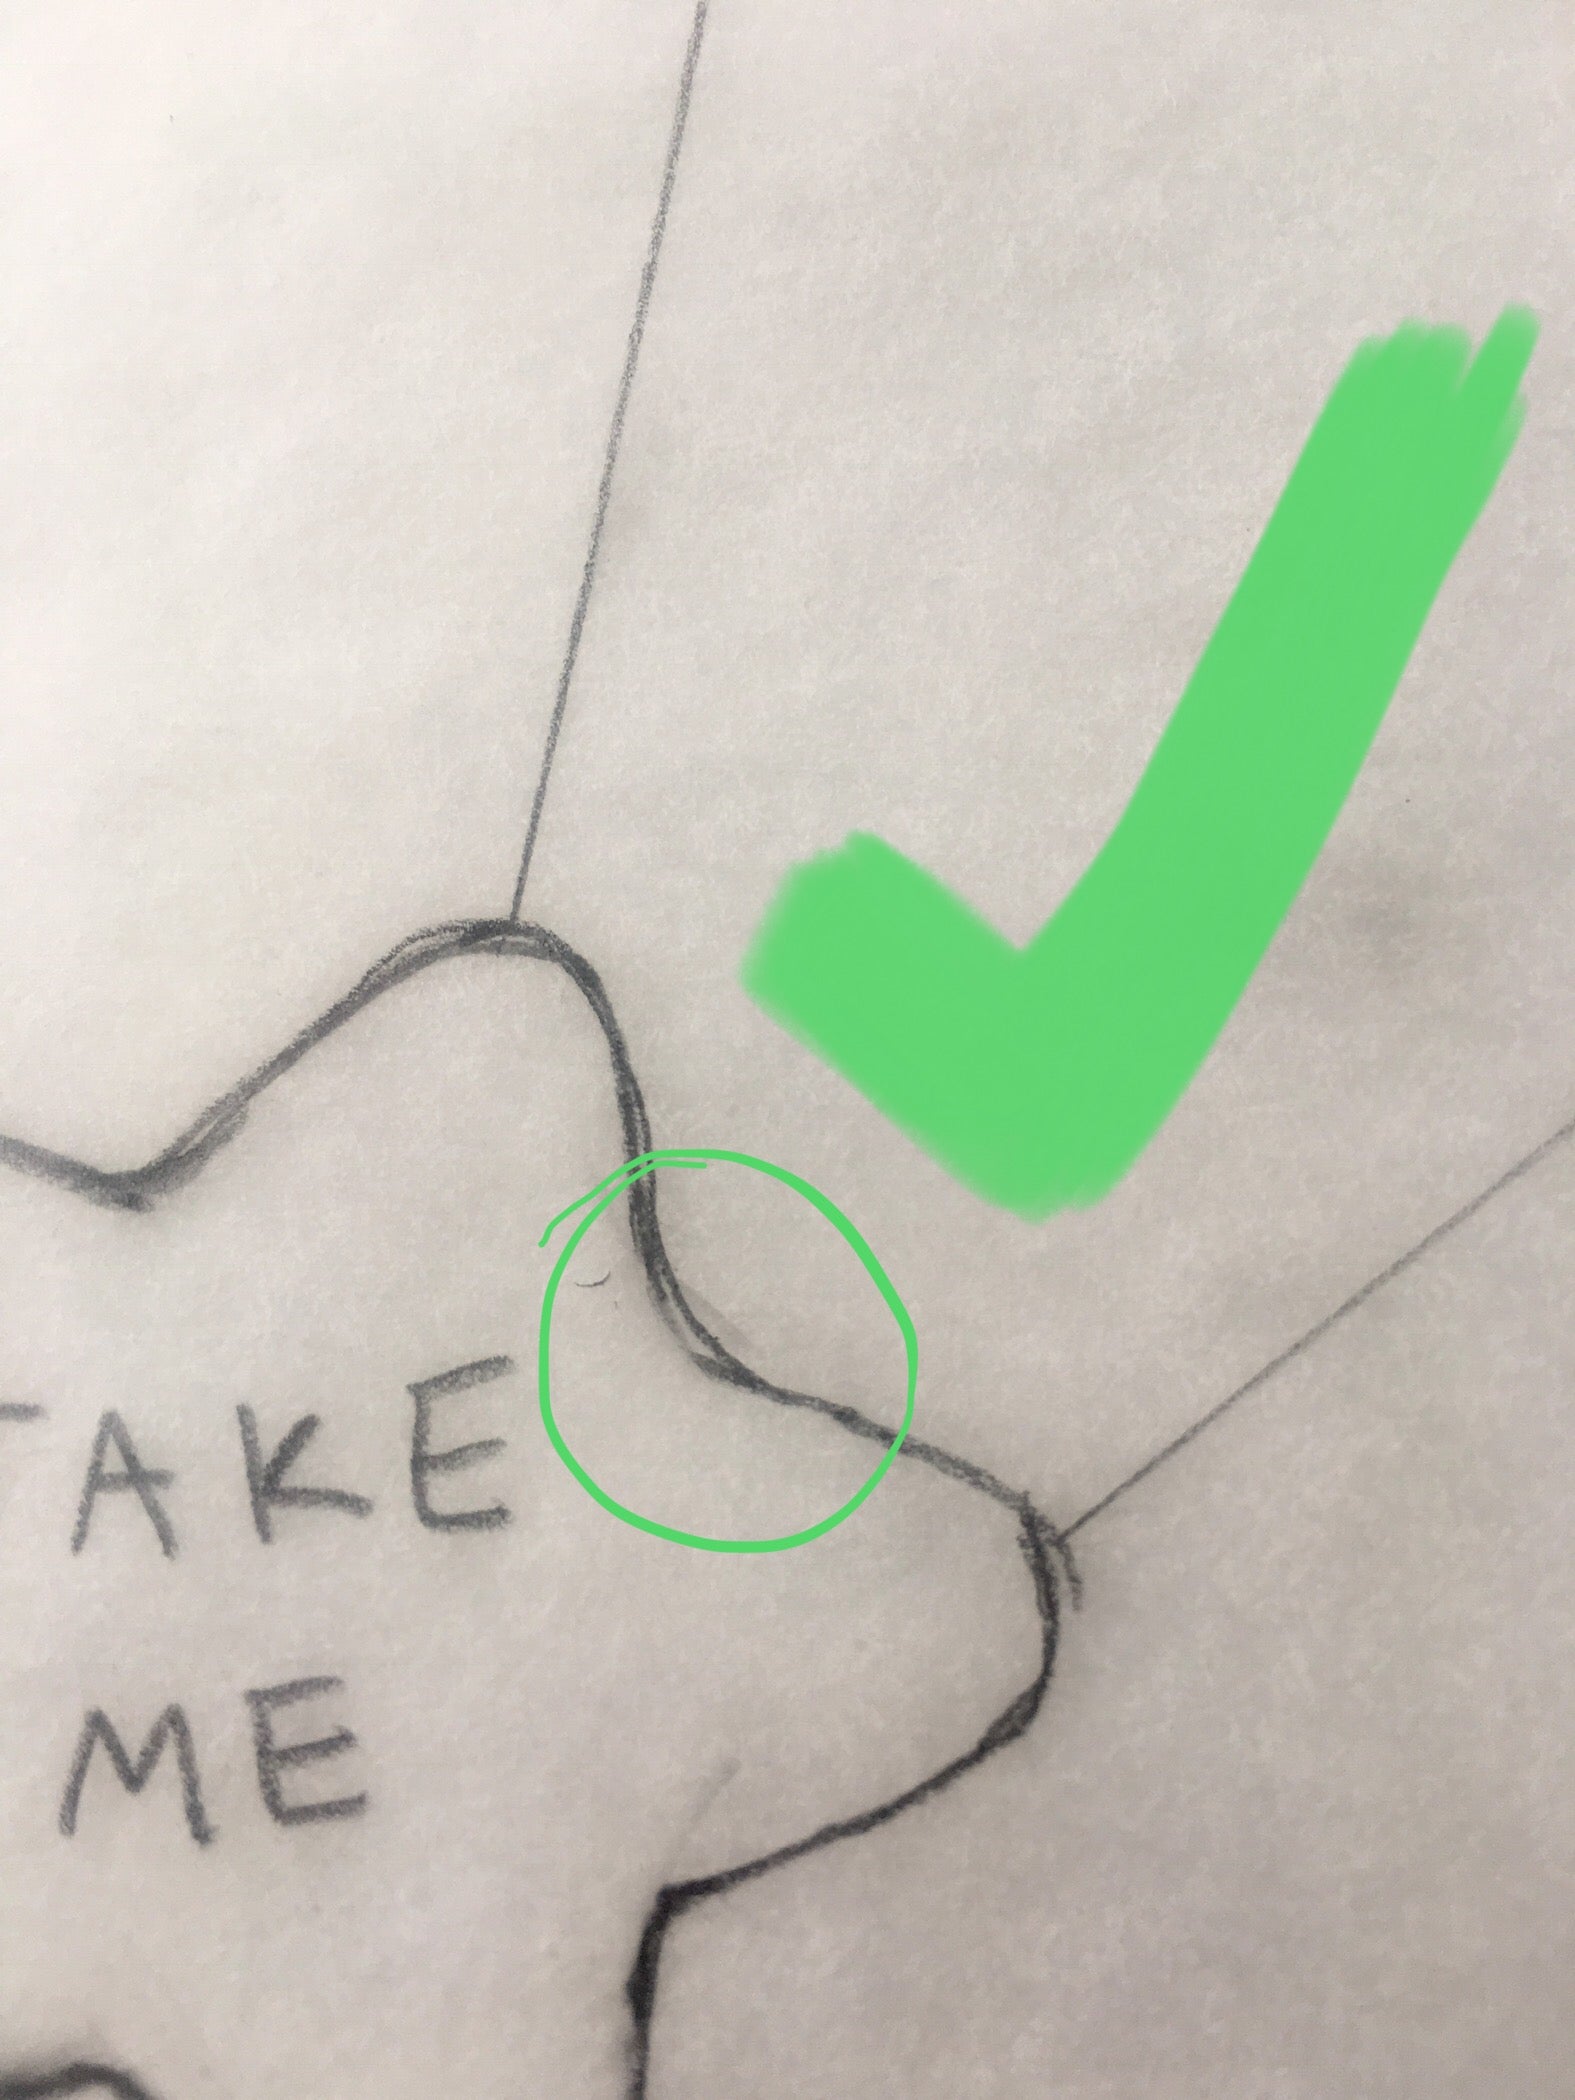
- LAMINATE COPY – For this method you will take your pattern to a local office store to have a laminated copy of the same size of your pattern created. You will then take the laminated copy and cut out every piece. If you opt to cut with regular craft scissors you’ll need to remember to compensate for the spacing that specialty stained glass scissors already account for (find on Amazon) . The best way to explain how to do this is look at your pattern and observe the black line that splits each piece apart. You want to remove any of those black borderlines away from any of your pieces. You do this because it creates spacing for the copper foil tape you will wrap each piece in and the frame that may be put around your final project. If you don’t do this small step it will majorly impact your project later on. As you try to fit it together you will find your pattern has “grown” in size and wont fit together. Once your laminate copy is cut out and you’ve accounted for spacing, you will number both your pattern guide and your laminate pieces. Be sure they correspond correctly. This will come in handy later on as you match your cut glass pieces in the pattern guide.
- CARBON PAPER – This works best for large projects such as lead came projects or larger sun catchers. The carbon paper method is almost identical to the laminated method but instead of getting a laminate copy created you will use carbon paper (find on Amazon) and large brown wrapping/construction paper (find on Amazon) to make a copy of your pattern to cut. You will staple, top to bottom, your guide pattern, the carbon paper, and then the construction paper. You will then trace over your pattern guide with a pen or firm pencil. The carbon paper will transfer your tracing onto the construction paper. Always number your pattern guide and each of the pieces identically before you begin cutting. Make sure to cut out your construction paper the same way you did with your laminate paper being sure to account for the excess outlines on your pieces. Again if you are using special foil cutting scissors you don’t need to worry about doing the extra trimming.
- TRACING PAPER – My personal preference and best for projects less than 12 inches. I draw my own patterns and I do it on tracing paper (find on Amazon) . For this method you will have two copies of your pattern this time both on the tracing paper. Just like the other projects you will keep one of the patterns as your pattern guide and the other as your pieces. Important to note a spacing issue, generally my patterns have smaller pattern break lines so most of the time I actually end up compensating for spacing when I am grinding. AKA I end up grinding a bit more that normal. Again be sure to match the pattern guide and pieces identically.


FINDING THE BEST PLACE TO STICK YOUR PATTERN ON GLASS
After you’ve cut out your pattern pieces you need to think about how much glass you have and the best way to fit every piece on the sheet of glass you intend to cut from. Its important to have extra glass incase you break a piece accidentally in the cutting process. Its very risky to work with an exact amount of glass with no room for error. Almost every time I cut out glass I need to re-cut at minimum one piece. Sometimes you just cannot control how glass is going to break. Another thing to account for is the texture and appearance of the glass you’ve chosen for your project. It is hard to translate into words but some areas of glass are prettier than others and you may want to use a sheet of glass that has a lovely color right in the middle of it. If you want to use a certain area it is important to think about how you will place the pattern and to avoid making too many extra cuts. Next it is also important to know the best side of the glass to trace/cut the pattern on. You will always want to cut your pattern from the shiniest and smoothest side of the glass. Depending on what side of the glass you want as the front facing part of your project you may ultimately have to glue/trace your pattern piece backwards for cutting purposes. The last thing to keep in mind is how your pattern pieces will all be laid on the sheets of glass you’ve chosen to use. Do all of them fit? Do you have enough glass? You’ll want to be sure not to waste too much glass but to also ensure there is enough spacing between all of the pieces. This will make more sense if you’ve cut glass before. Glass breaks in “straight” lines and that must be accounted for when you are transferring your pattern to the glass.
TRACING YOUR PATTERN ONTO GLASS
Once your pieces are numbered and matched with the guide pattern it is time to trace around each plastic/paper piece onto the glass you’ve chosen for your project. You will take a sharpie/glass pen and firmly hold with your fingers a single laminate piece/paper piece upon the desired area of glass you’d like to use. You will slowly trace all the way around the piece with the marker. Once fully traced around you will lift the laminate/paper piece up and you should have a marker outline on the glass that is identical to the piece you just traced. Be certain to number that piece of glass reflecting the piece you just traced with your sharpie or glass pen. Voilà your pattern is now transferred on to the glass! Some pros to the laminate/carbon paper transfer method is that it is easy to see your pattern when you are cutting. I also believe that is the simplest way to transfer your pattern to glass. Another pro is Laminate pieces can be reused if you intend to re-create the same project over again. Some cons to this method include it being tricky to hold each pattern piece still to accurately trace each piece. The biggest con in my opinion is that when you get the step of grinding your sharpie line will disappear quickly in the water and it will need to be redrawn several times especially if you are a beginner still getting comfortable with grinding.

GLUING YOUR PATTERN ONTO GLASS
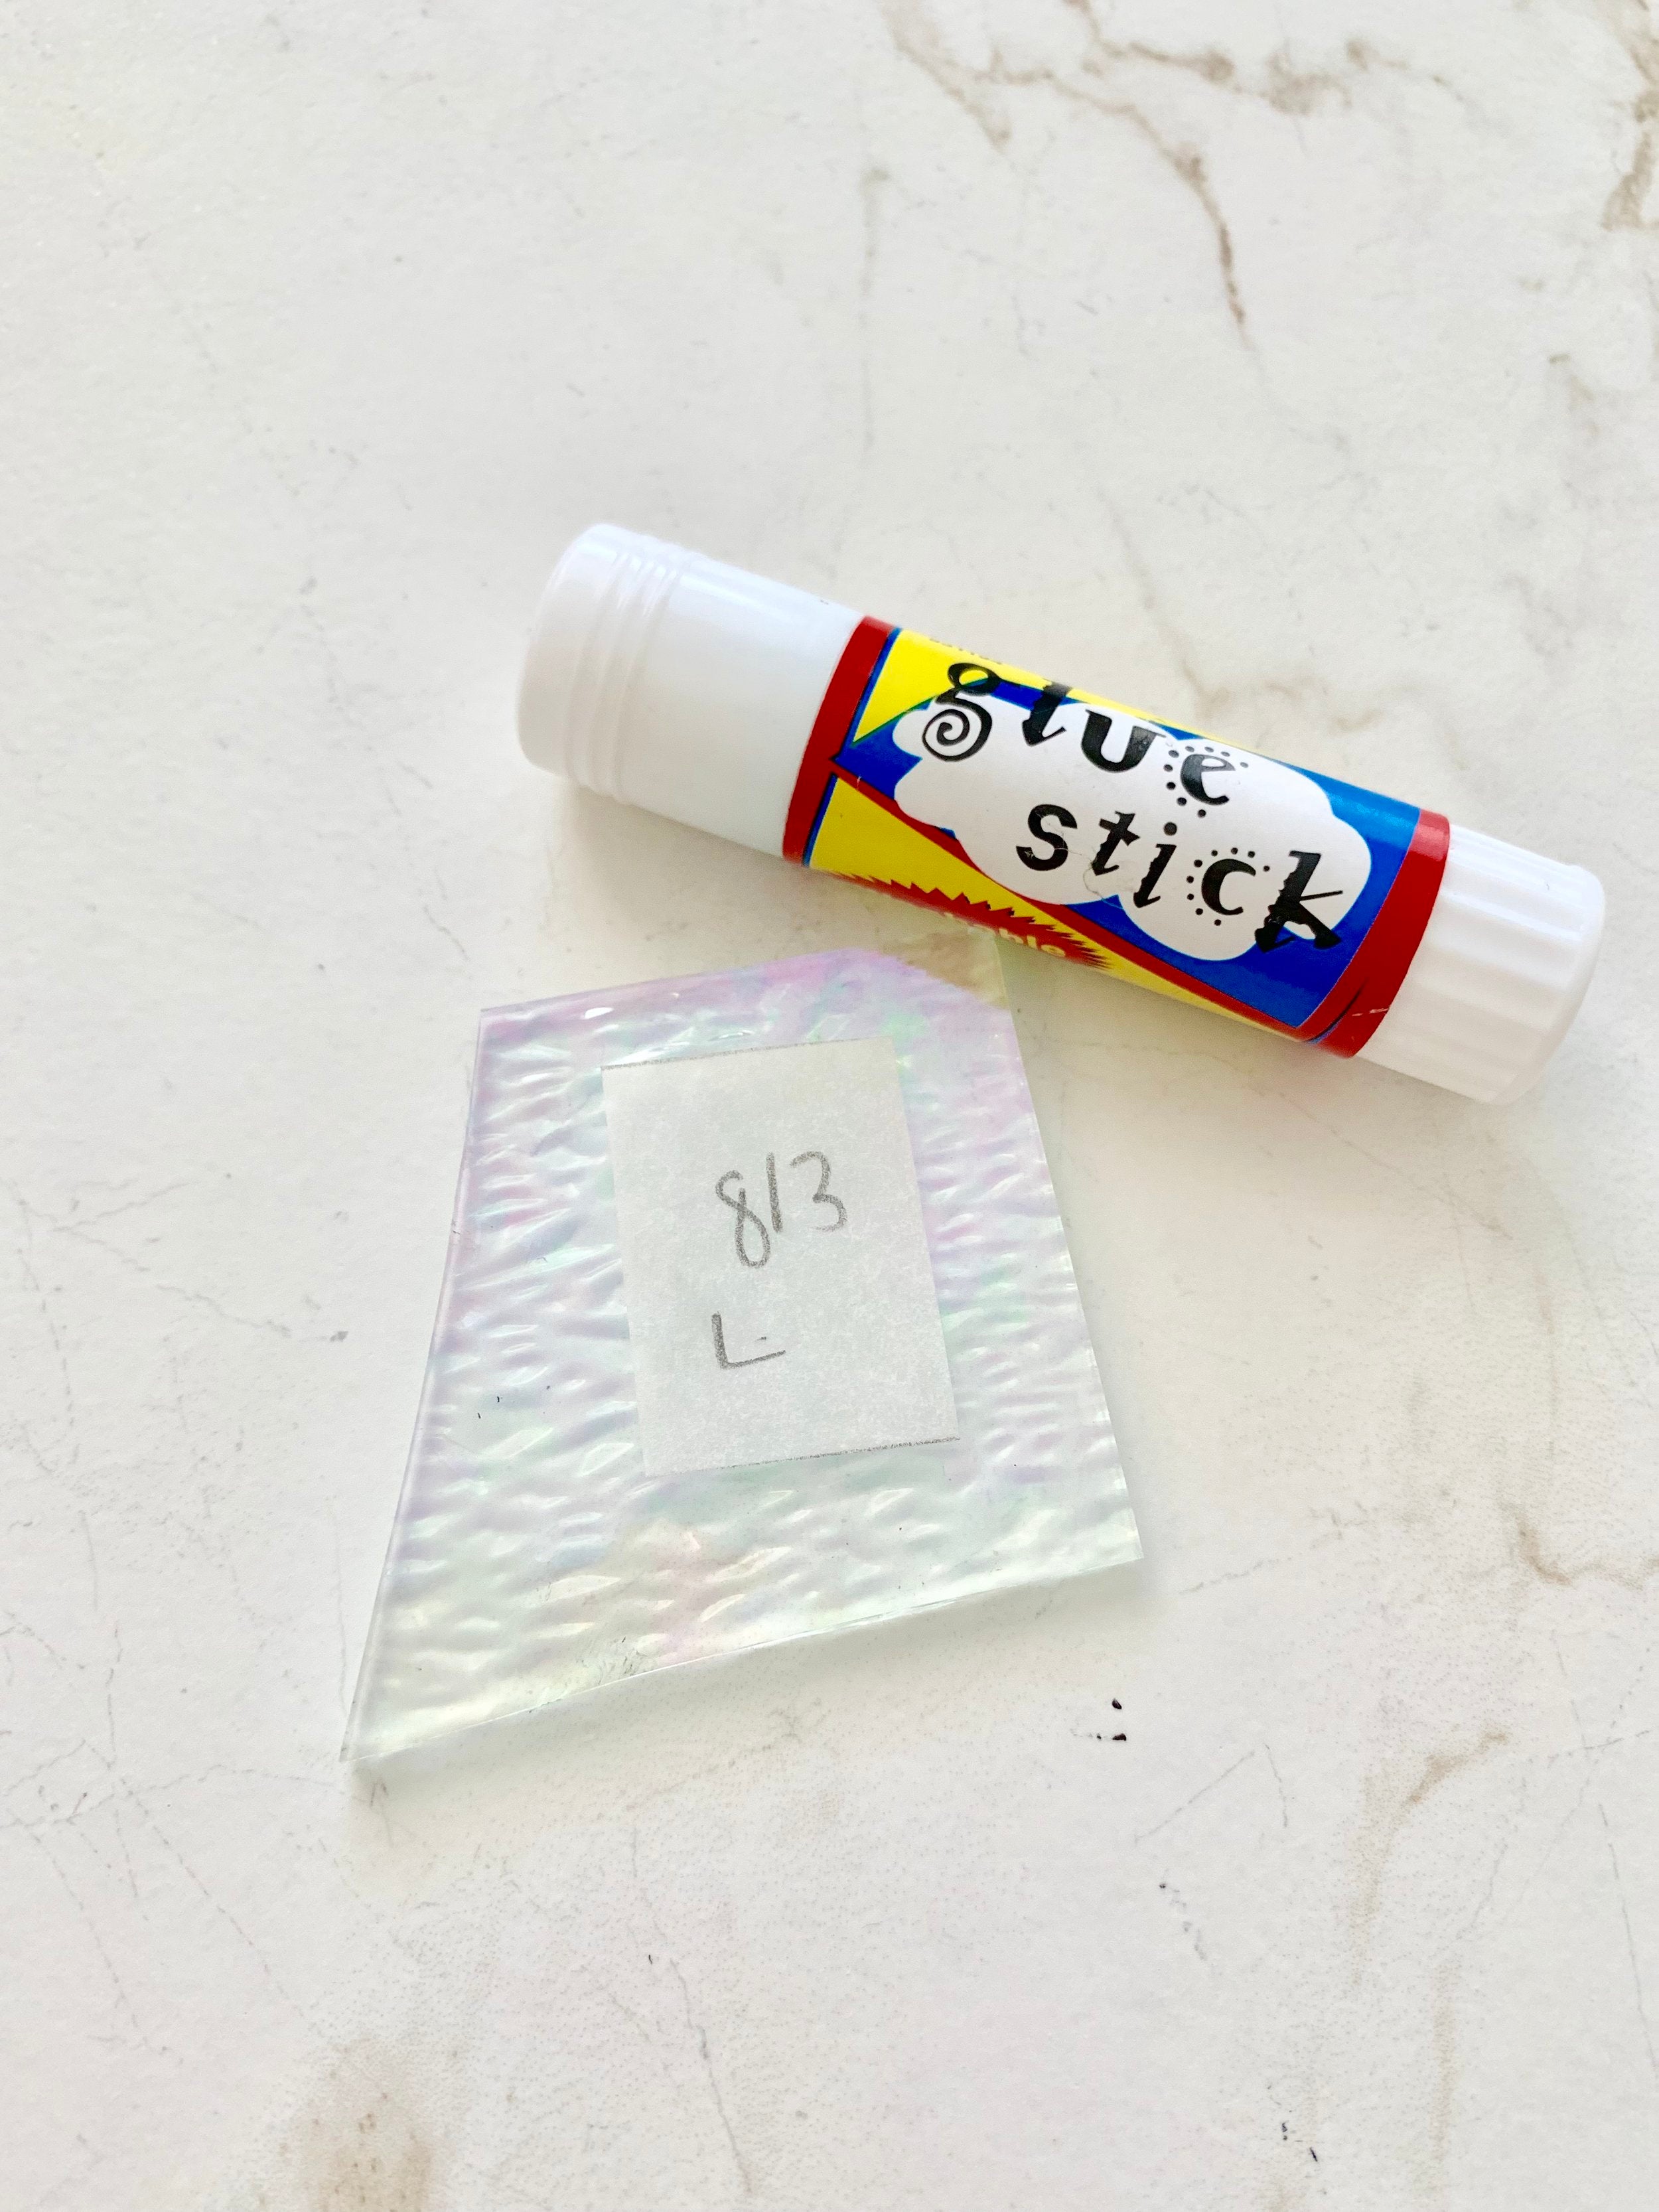
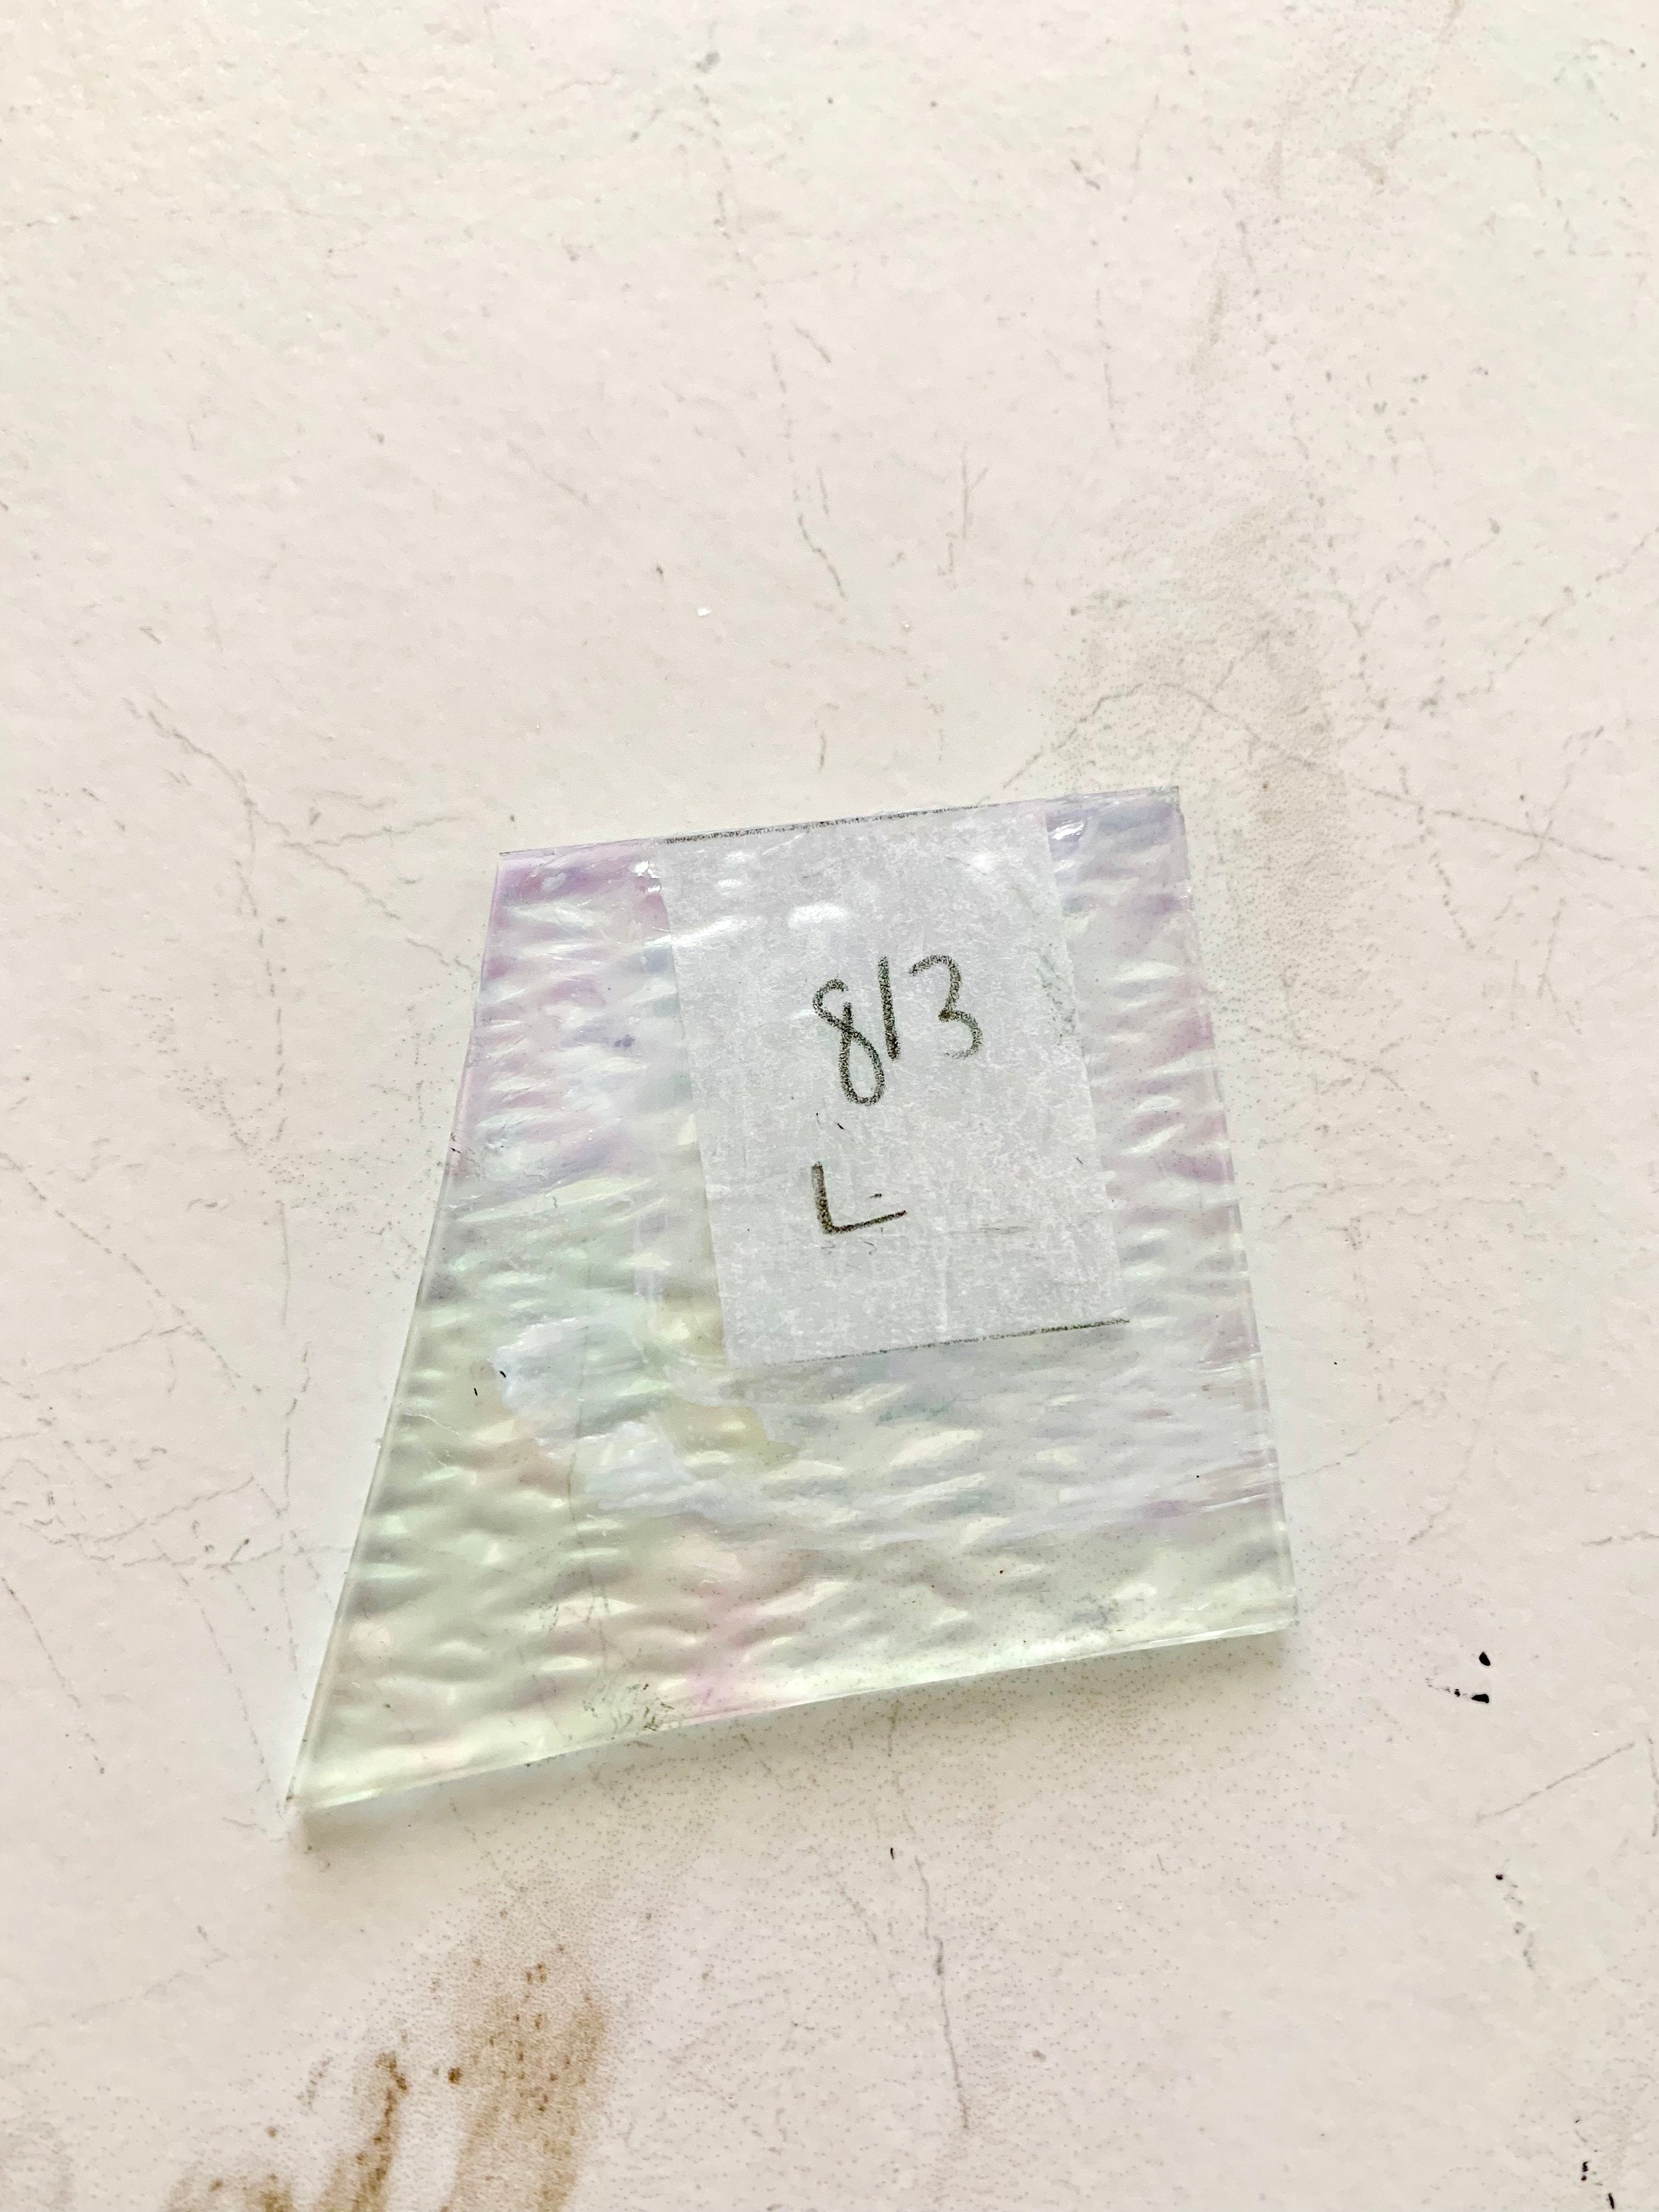
Once your pattern is cut out from the tracing paper you will take a traditional glue stick (find on Amazon) and glue all of the pieces onto the glass. To make sure they don’t curl, liberally apply glue to the piece of glass you want to stick your pattern on. Then place the cut out tracing paper piece on the area you just put glue on then and your finger to make sure it is firmly stuck to the glass. Carefully apply another layer of glue over the top of the glued pattern piece. This insures when it hits the water of the grinder it will not instantly come off. Some pros to this method are you don’t need to purchase large sized materials or leave your home to have to run to an office store each time you create (you can essentially go right from drawing to cutting out your pattern). Another pro I have found is the tracing paper sticks very well the glass if you really lather on the glue. You wont have to retrace again and again. Also I find it is easier to guide your cutter along the paper material vs. the marker lines. Some cons to this method are the glued pattern can slip off the glass sooner than you want it to. Also once you get to the grinding stage eventually you will need to soak your glass pieces to get off the paper debris left over, it can be messy.

READY TO GET CUTTING?
Short but hopefully sweet, pattern transferring really boils down to what makes the most sense for you. These are the methods I’ve been able to learn but there could be many more options out there and I encourage you to try them all to see what is best for you. This is a baby step in the big picture of creating stained glass but a step that’s important to feel comfortable with. Next post up will be covering cutting your pattern out of glass and that will be one you don’t want to miss. Until next time friends!
<3 Meggy
stained glass pattern transfer, how to transfer stained glass patterns, stained glass tracing techniques, best way to transfer stained glass patterns, stained glass pattern cutting, stained glass pattern methods, stained glass design transfer, stained glass tracing paper, stained glass pattern gluing, stained glass project preparation, transferring patterns to stained glass, stained glass pattern layout tips, stained glass pattern guide, DIY stained glass pattern transfer, best materials for stained glass patterns, stained glass pattern cutting tips, stained glass pattern tracing tools, carbon paper for stained glass, stained glass project planning, how to trace stained glass designs, stained glass pattern positioning, stained glass pattern numbering, stained glass cutting templates, stained glass layout and tracing, stained glass pattern transfer mistakes, stained glass pattern organizing, glass cutting preparation, stained glass pattern spacing tips, tracing patterns onto stained glass, stained glass pattern making, stained glass preparation steps, stained glass design transfer tips, laminating stained glass patterns, using sharpies for stained glass patterns, stained glass pattern step-by-step guide, stained glass pattern methods comparison, how to avoid mistakes in stained glass patterns, stained glass pattern accuracy tips, stained glass pattern troubleshooting.